
User Groups
Create reusable roles — bundle a set of permissions once, then give the whole bundle to a user in one step instead of assigning permissions one by one.
Permissions
| Action | Who can do it |
|---|---|
| View groups | Users with the "Read permission groups" permission |
| Create a group | Users with the "Create permission groups" permission |
| Rename/edit a group | Users with the "Update permission groups" permission |
| Delete a group, or remove a member | Users with the "Delete permission groups" permission |
| See the "Users" tab / add a member | The tab and the "Add User" button are shown to users with the "Create permission groups" permission; adding or removing a member itself requires the right to assign permissions ("owned" or "all") |
| Change a group's permissions | Users with rights to assign permissions (either "owned" or "all") |
Built-in groups
Your organization comes with a few ready-made system groups (e.g. "AF Admin", "AF Accountant", "QBar Waiter") that you can assign to users but can't edit or delete — they're maintained centrally. Any group you create yourself is fully yours to edit.
Viewing a group
- In the top navigation, click Administration → Authorization → User Groups.
- Choose a group from the User Group dropdown and click Apply.
- The Permissions tab lists everything that group grants.
- The Users tab lists everyone currently in that group.
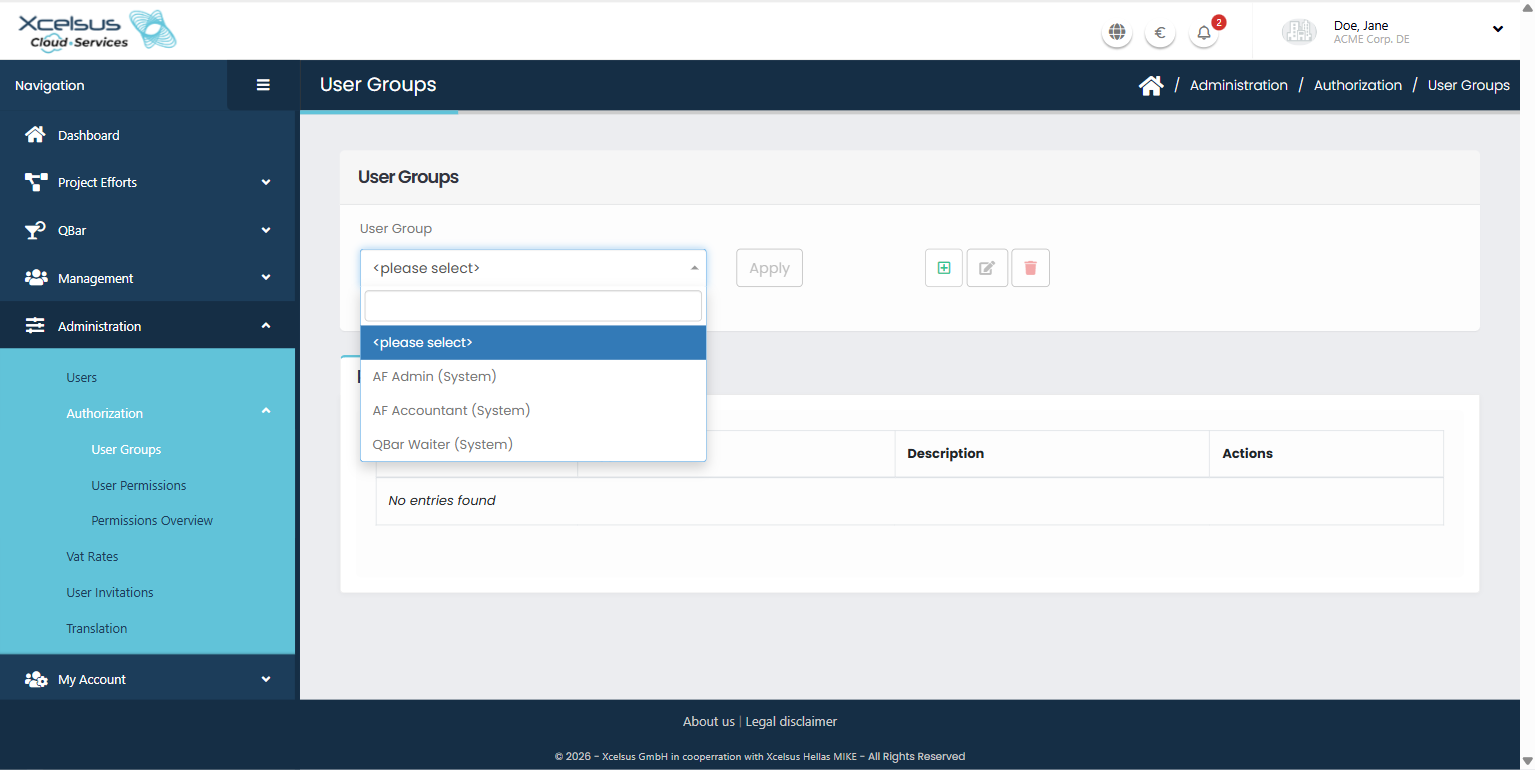
For a system group, the Permissions tab is read-only — no checkboxes, no Save button.

Creating a group
- Click the green + button next to the dropdown.
- Enter a Name and, optionally, a Description.
- Click Save.

Setting a group's permissions
- Select your custom group from the dropdown and click Apply.
- On the Permissions tab, use the checkboxes to select which permissions the group should grant.
- Click Save. This replaces the group's entire permission set with whatever is currently checked — it doesn't add to what was there before, so double-check the full list before saving.
Adding or removing members
- Select a group and open the Users tab.
- To add someone: click Add User, pick them from the list (only people not already in the group are shown), and confirm.
- To remove someone: click the trash icon next to their name and confirm.
A person's actual access is always the combination of everything they're granted directly, plus everything every group they belong to grants — being in multiple groups, or having both individual permissions and group permissions, simply adds them together.
Editing or deleting a group
- Rename/edit: select the group, click the pencil icon, change the name/description, and save. (Not available for system groups.)
- Delete: select the group, click the trash icon, and confirm. Anyone still in the group immediately loses the permissions it granted them — there's no undo, and no way to recover a deleted group's setup afterward.
Troubleshooting
I removed someone from a group (or deleted the group), but they can still do things it used to allow
Permission changes may not reach a person who is already logged in right away. If it matters immediately, ask the affected person to log out and back in.
I can't edit a group's permissions or delete it
You're probably looking at one of the built-in system groups — these are intentionally read-only. Create your own group instead if you need something different.
Getting help
If a user's access doesn't match what their groups should grant, contact **support@xcs.app** with the user's name and the group(s) involved.