
Contacts
Contacts is your organization's address book. It holds the people and companies you deal with, such as customers, suppliers and your own employees. Each contact can have as many extra addresses, phone numbers and email addresses as you need.
Contacts are also the basis of the Companies, Customers and Employees screens under Management. Every company, customer and employee is a contact with some extra details, so you'll find all of them in this list too.
Permissions
What you can do here depends on the permissions your administrator has granted you:
| Action | Who can do it |
|---|---|
| View contacts | Anyone granted view access to contacts |
| Add a contact, or add an address, phone number or email to one | Anyone granted permission to create contacts |
| Edit a contact, or one of its addresses, phone numbers or emails | Anyone granted permission to update contacts |
| Delete a contact, or one of its addresses, phone numbers or emails | Anyone granted permission to delete contacts |
For administrators: these are permissions you may need to assign under Administration → Authorization → User Permissions, listed under the Xcelsus Application Framework application. Look for Read contacts, Create contacts, Update contacts and Delete contacts.
Viewing your contacts
Go to Management → Contacts. The table shows each contact's display name, salutation, first name, last name and company name. Use Search to find a contact, or click a column header to sort by it.
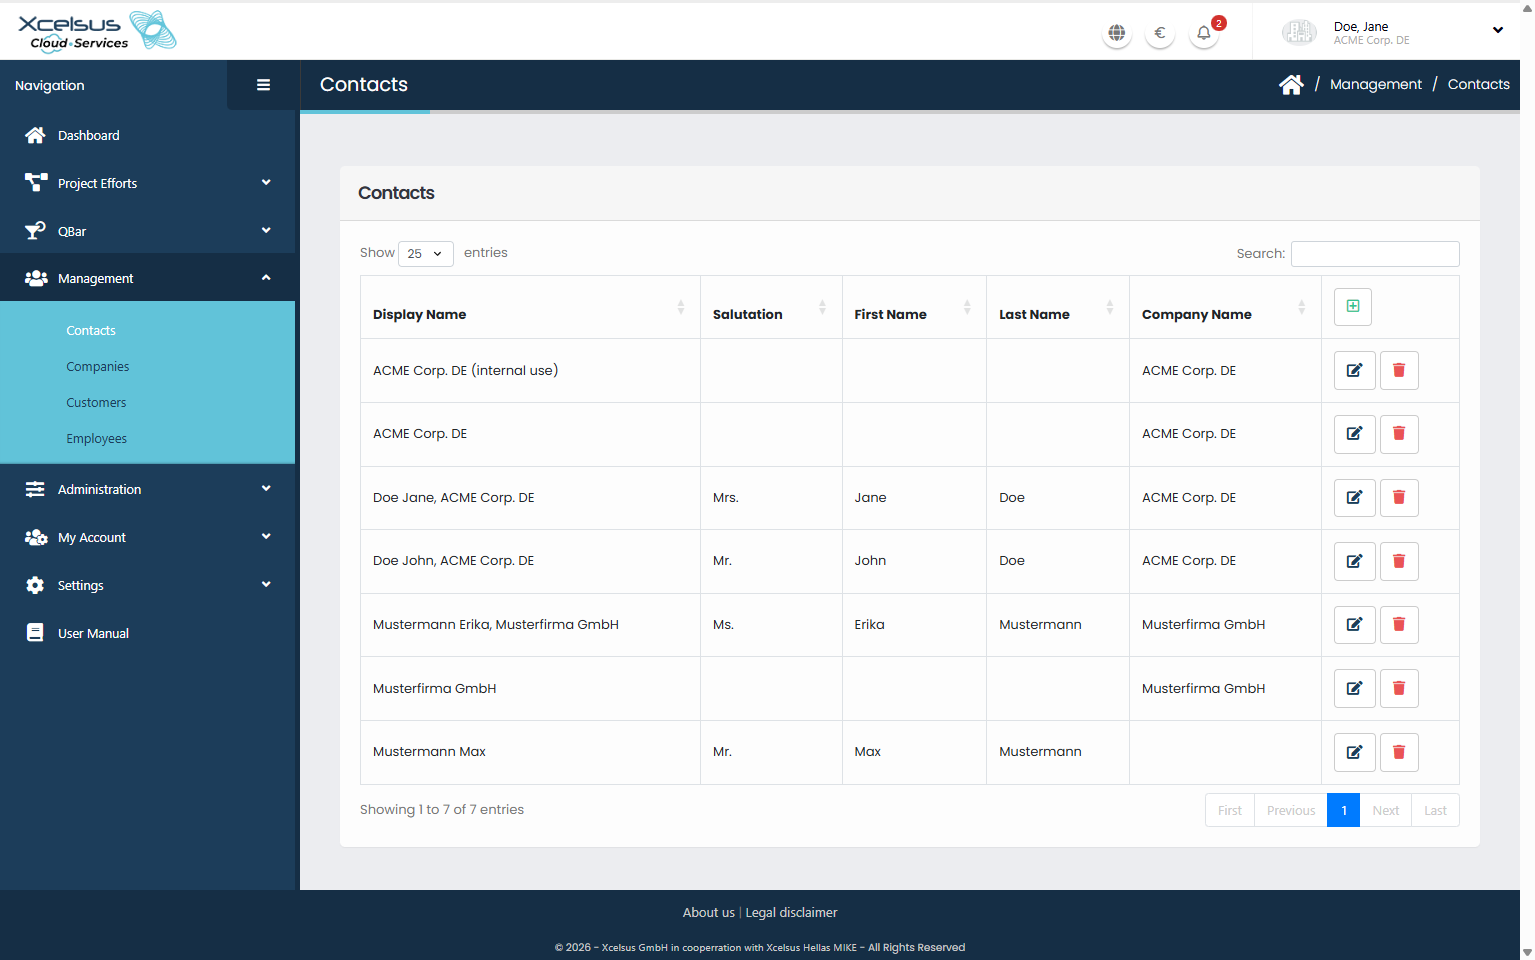
Companies, customers and employees appear in this list like any other contact. Your organization's own main contact isn't listed. You manage that one under My Account → Licensee.
Adding a contact
- Click the + button above the table.
- Fill in Salutation, First Name, Last Name and Company Name as needed. A contact needs either a first and a last name, or a company name.
- Check the Display name, which is filled in for you (see below).
- Click Save.

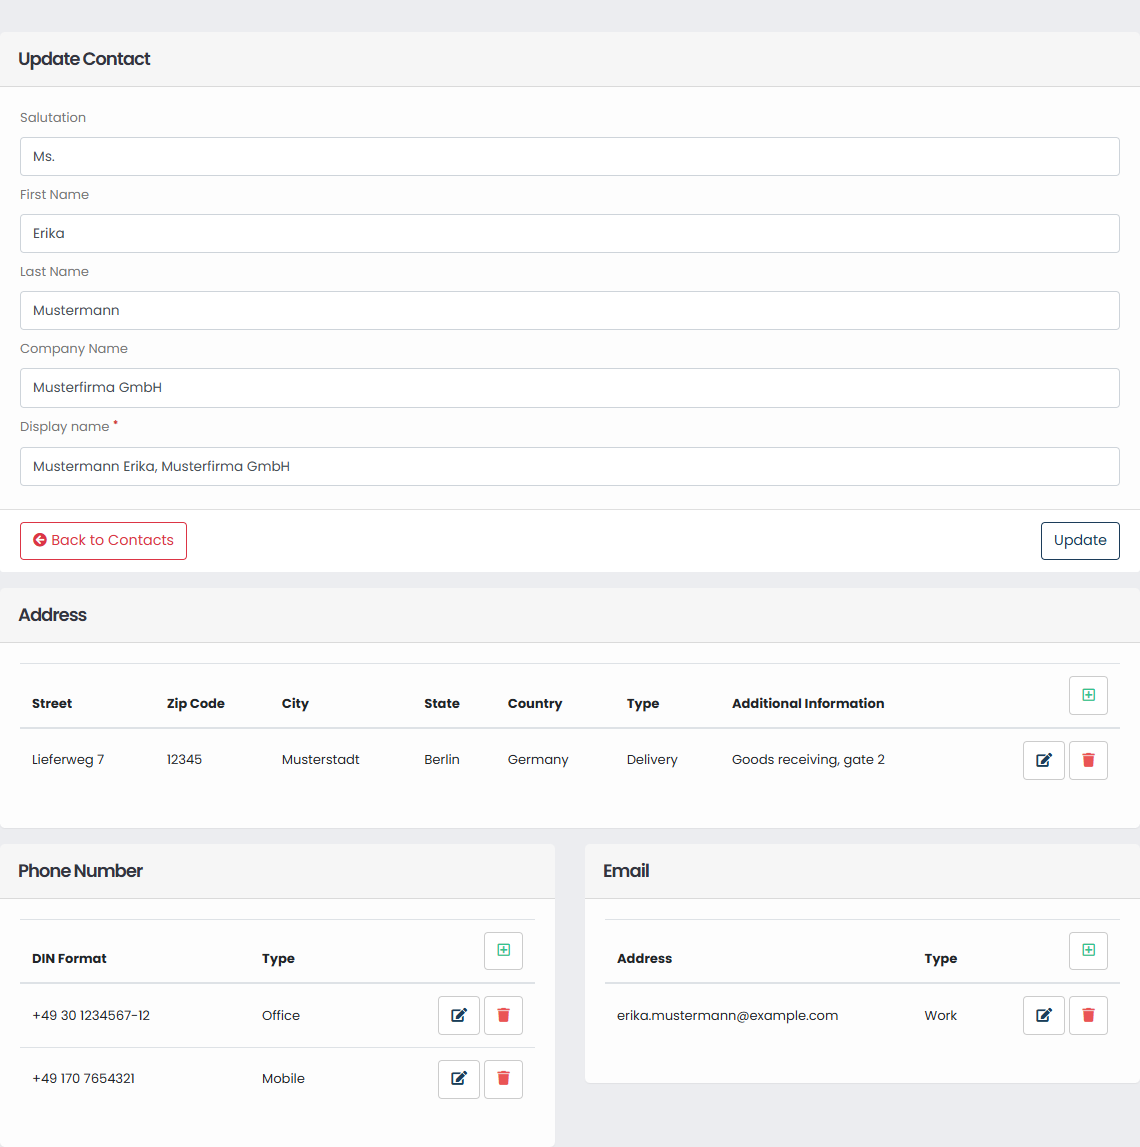
After the first save, the button changes to Update, and the Address, Phone Number and Email tables appear below the form. You can now add further details, see Adding addresses, phone numbers and emails.
If the message "A contact should either have a First and a Last Name, or have a Company Name." appears below the form, add the missing name and click Save again.
⚠️ Important: the Display name is built automatically from the last name, first name and company name, for example "Mustermann Erika, Musterfirma GmbH", or just "Musterfirma GmbH" for a company. It's rebuilt while you type in those fields, and again whenever you open the contact. A display name you typed yourself is therefore replaced the next time the contact is edited. When you add several contacts in a row, the display name can also pick up a name from the contact you had open before. Always check it before you click Save.
Editing a contact
- Click the pencil icon on the contact.
- Change the fields you need and click Update.
- Change or add addresses, phone numbers and emails in the tables below the form. Each of these is saved on its own, see the next section.
- Click Back to Contacts to return to the list.
Adding addresses, phone numbers and emails
- Open the contact with the pencil icon, or save a new contact first.
- Click the + button of the Address, Phone Number or Email table.
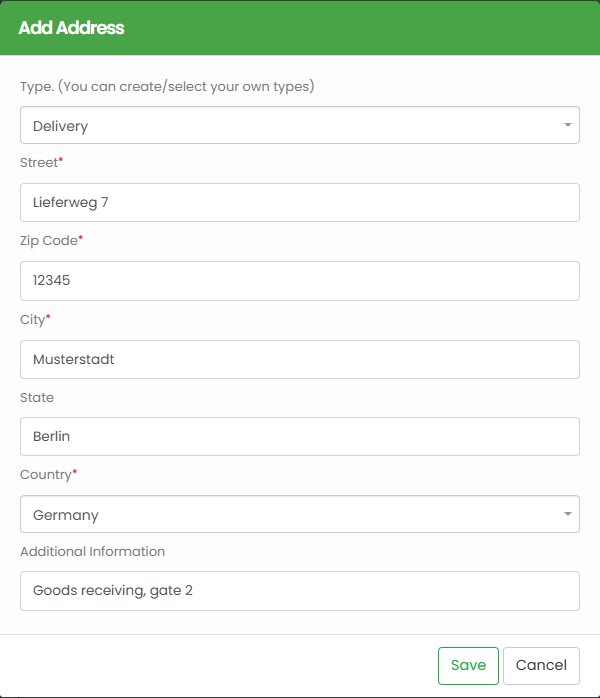
- Choose a Type, for example "Delivery", "Office" or "Work". Types already used in your organization are suggested. To create a new one, type it and press Enter.
- Fill in the details and click Save.
Address: Street, Zip Code, City and Country are required. State and Additional Information (for example a gate or floor) are optional.
Phone number: only the Number is required. Enter the country
code, area code, number and extension in their own fields, using digits,
spaces, +, -, ( and ) only. The table shows the combined number in
international format, for example +49 30 1234567-12.
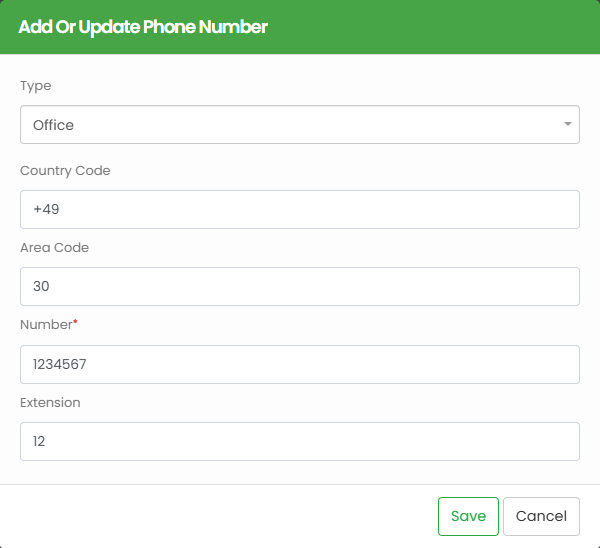
Always fill in the Country Code as well. If you leave it empty, an area code that starts with
0isn't shown in the table.
Email: the Address must be a valid email address.
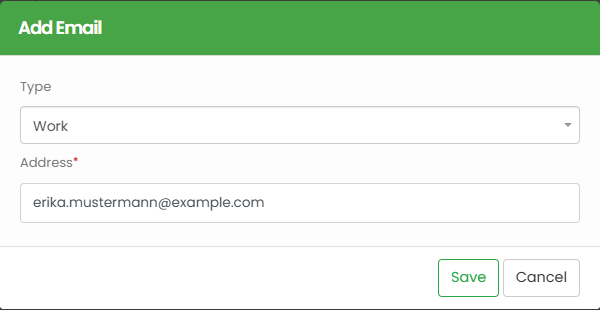
To change or remove an entry later, use the pencil or trash icon on its row.
If the contact is also a company, customer or employee, its main address, phone number and email don't appear in these tables. You edit those on the Companies, Customers or Employees screen instead.
Deleting a contact
Click the trash icon on the contact and confirm with Yes. This can't be undone.
⚠️ Important: deleting a contact also deletes everything that belongs to it: its addresses, phone numbers and emails and, if the contact is also a company, customer or employee, that company, customer or employee as well. The confirmation doesn't warn you about this. If that company, customer or employee is still in use elsewhere (for example a customer with projects, or an employee with recorded work hours), the contact isn't deleted and an error message appears instead.
Contacts on other screens
When you create a company, customer or employee, you can choose an existing contact under Select from existing contacts instead of typing the details again. Only contacts that aren't already a company, customer or employee respectively are offered. The contact's names, and its main address, phone number and email if it has them, are copied into the form. The extra addresses, phone numbers and emails you add on this page aren't.